|
|
The first step in removing the stock head unit is to remove the plastic door and it's surround, including the air vents. Open the flap and begin pulling it gently. At the same time you can us a screwwdriver wrapped in tape to lever out the top edge. Be patient, it'll come eventually. I ended up using some stiff wire (from a coat hanger) and bent a small hook in the end of it. I inserted this into the upper corners of the air vents to help me pull the top out. |
|
|
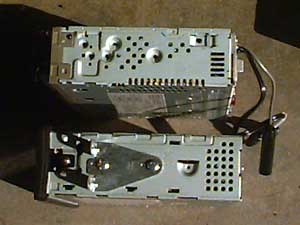
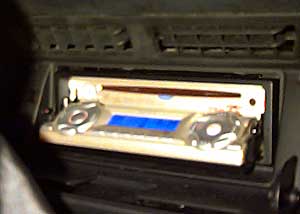
The Sony head unit and the Honda/Alpine unit are both DIn sized and have the same screw holes for mounting. Simply remove the brackets from the Honda unit and attach them to the Sony. |
|
|
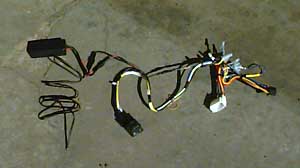
This is Pinky's mod laid out in the floor of my garage. Basically it is the plug and cables (harness) which comes with your head unit (black plug on far right), wired to a plug which matches the Honda connector (white socket just a little to the left). The wire that comes from the S2000's dash controls goes to the programmable box (black box, upper left), and another wire with the infra-red transmitter LED (black wire, lower left) comes off the box. Also, the mute function is hardwired to a relay (lower center) which operates the head units attenuation. This configuration is supplied pre-wired. Just plug it in and program it. |
|
|
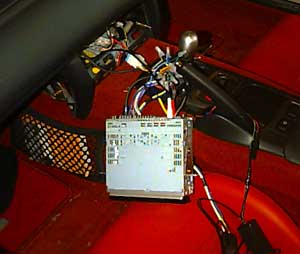
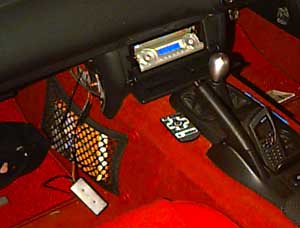
Connecting the new unit is simple. It's definitely a lot simpler than it looks in these photos. Simply take the plug that used to plug into the Honda head unit and attach it to the harness, then attach the other plug to the back of the new Sony head unit. Other things to connect are the aerial lead, and in my case the two RCA connectors and Bus control lead from the CD Changer. Notice that the left kick panel is removed. You now need to feed the harness back into the cavity and push the programmable box out through the side and into the side foot well. You also need to ensure that the infra-red transmitter LED is still protrudung from the opening where the head unit will go. You can now slide the unit into place. There's a lot more cables and connectors in there now so be patient and don't be afraid to pull it out abit, move stuff around, and try again. Once you've got it into place use the 4 original screws to secure it. |
|
|
|
|
|
The head unit is now in place and the programmable box is laying in the foot well. |
|
|
I rested the programmable box on the open flap beside the standard infra-red remote. The task now is to program it. You press a button on the box, then the dash control you wish to program, then the button on the remote which you wish to emulate, then the next dash button, on so on, until you have programmed it for all four actions (Vol up, Vol down, mode, channel). Remember that Mute is hard wired. Don't worry, full instructions come with it. Also, if you stuff it up (as I did several times) just start again. Once you're done you can feed the programmable box back up into the console and replace the kick panel. |
|
|
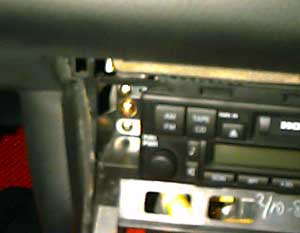
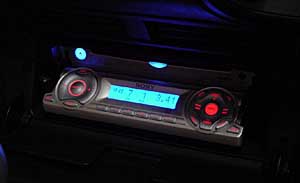
This is a close up of the Sony head unit in the open position. Although it's hard to see (lousy old digital camera) the control LED is protruding on the left. The controls on this unit light up red and match the interior and digital dash nicely. |
|
|
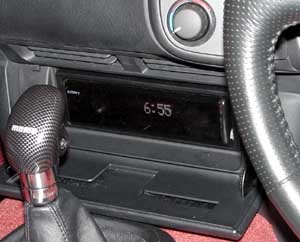
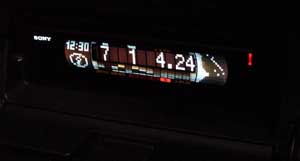
And this is a close-up in the closed position. The shift lever is in the way but there's a small infra-red LED on the left of the unit. Strangely enough, the infra-red receiver in the Sony unit is on the right in the open position, and on the left on the closed face. The only place I could find that would successfully transmit to both was on the left, sticking out about a centimetre. Look, I finally got a clock, and it only cost me $1200!! |